 cs


How should you wash and care for clothing with DTF prints? Learn the best practices for washing, drying and ironing,...
 Petr Dvořák


 (Web) (554 × 640 px) (5).png "LeftBanner 1")


How should you wash and care for clothing with DTF prints? Learn the best practices for washing, drying and ironing,...

Which materials can DTF transfers be applied to? Learn how DTF performs on cotton, polyester, blended fabrics and...

How do you apply a DTF transfer to fabric correctly? Learn how to set heat press temperature, time and pressure, why...

Is your DTF printing process not working properly? Discover the most common DTF printing problems, including nozzle...

Which cleaning fluid should you use for a DTF printer? Learn the differences between Cleaning Fluid, Flushing Fluid...

How do you clean a DTF printer properly and prevent printing problems? A practical guide to regular maintenance of...
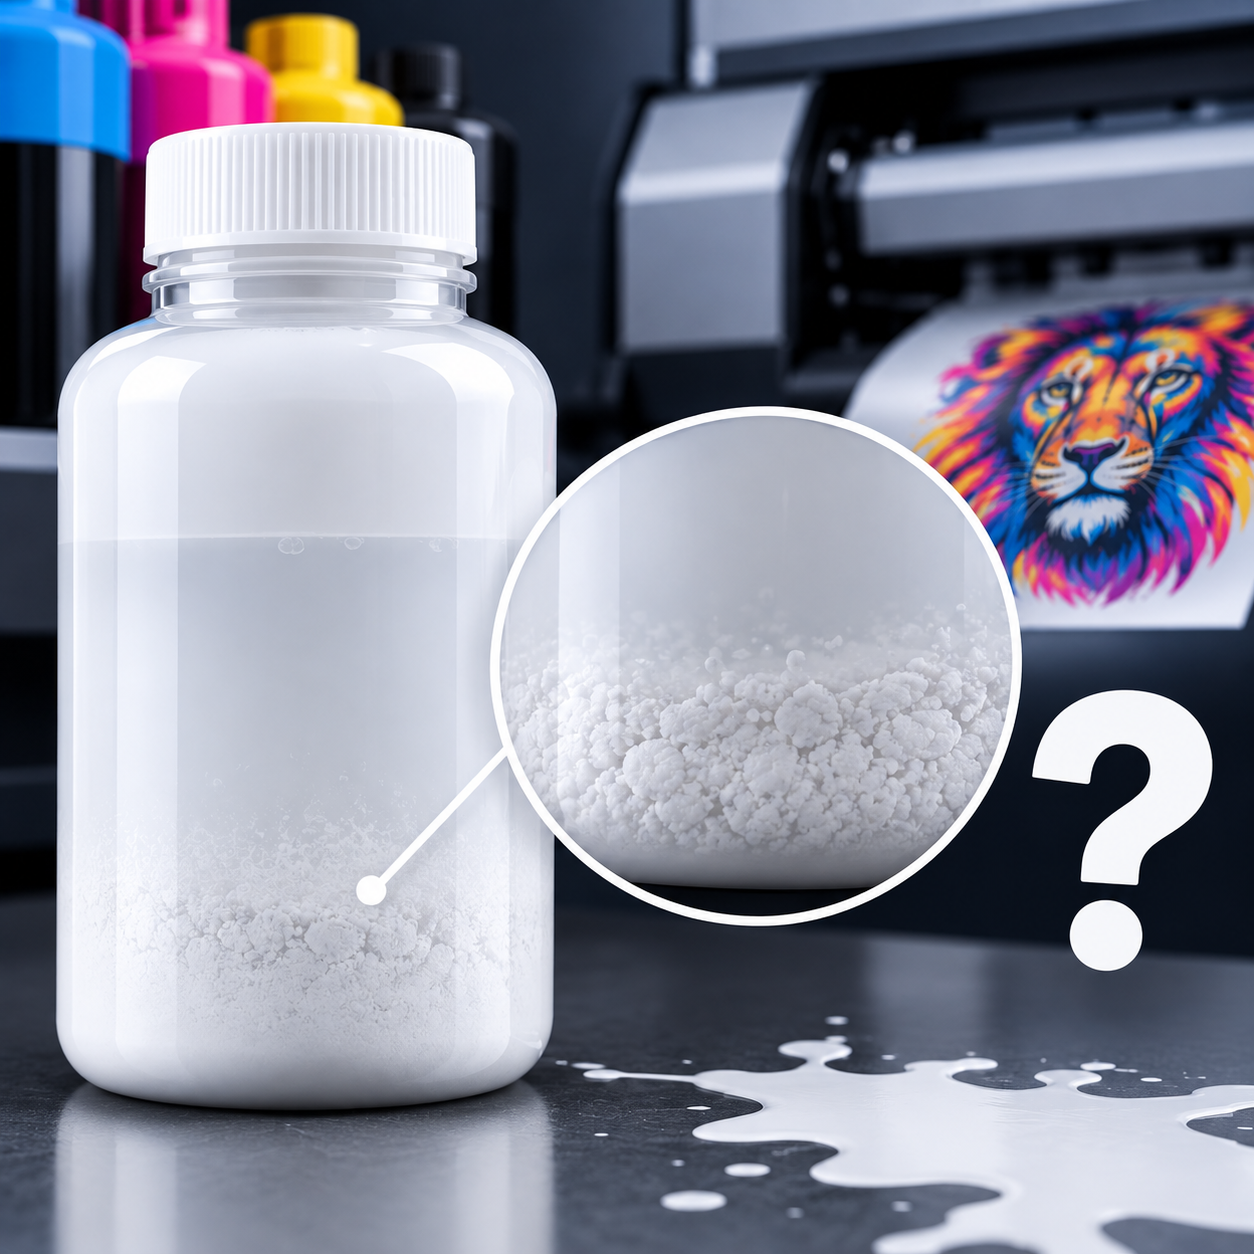
Why does white DTF ink settle, and when does sedimentation become a problem? Learn why white pigment settles, how ink...
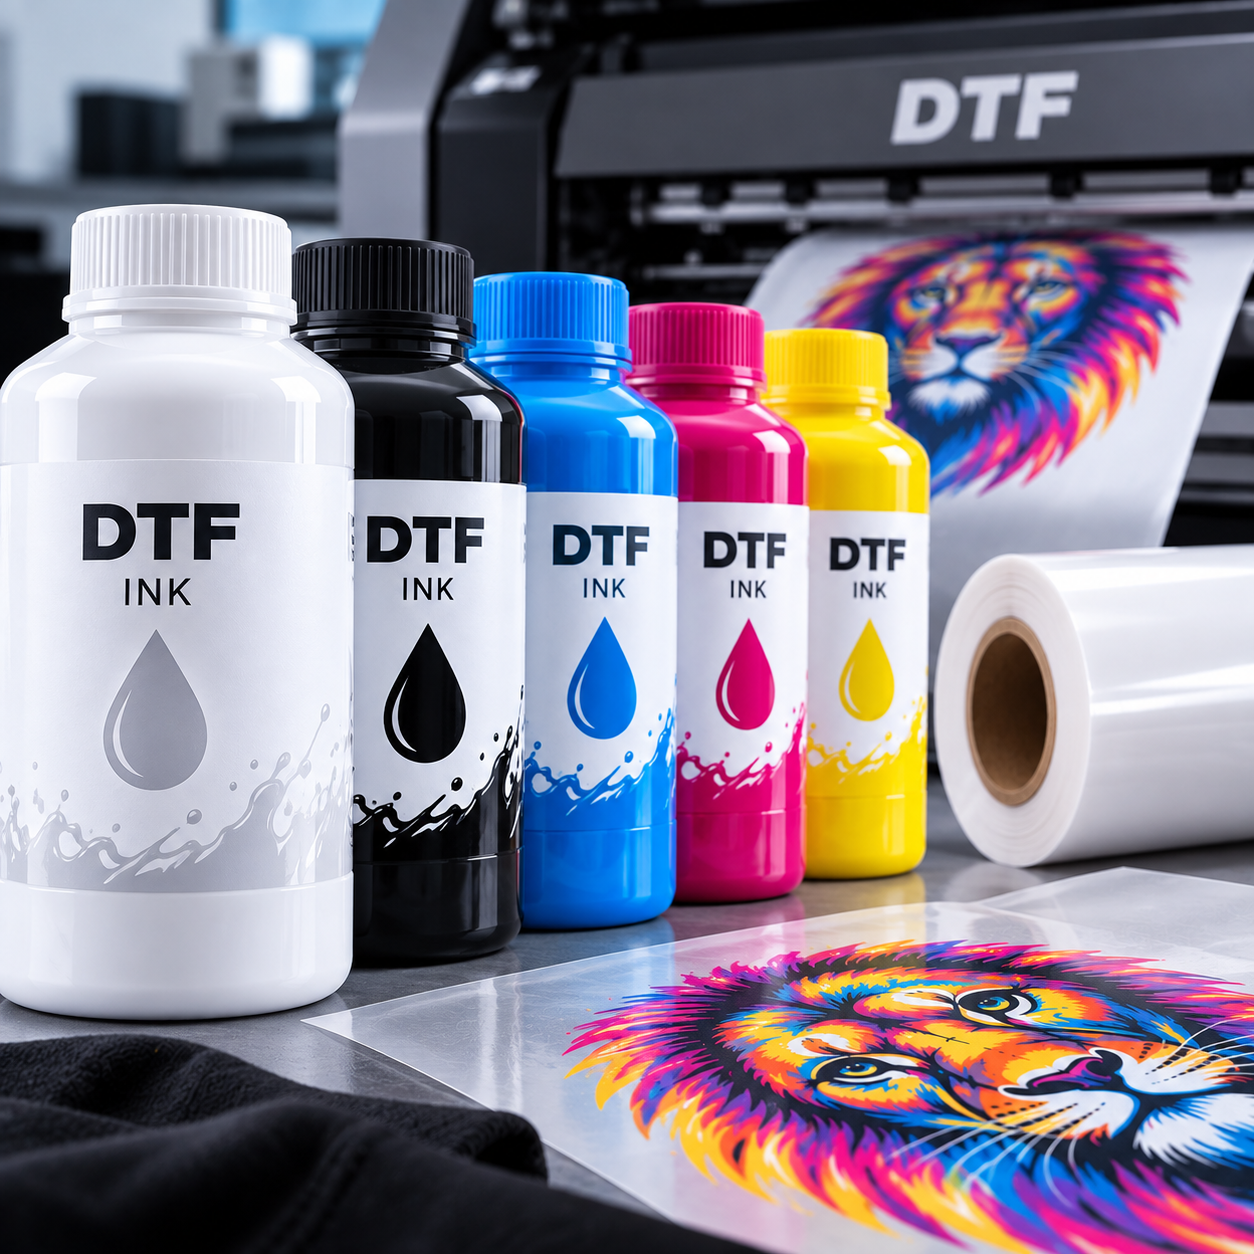
How do you choose the right DTF ink? Learn the difference between CMYK and white DTF ink, why printhead compatibility...

Is your DTF transfer peeling or failing after washing? Discover the most common adhesion problems – from DTF powder...
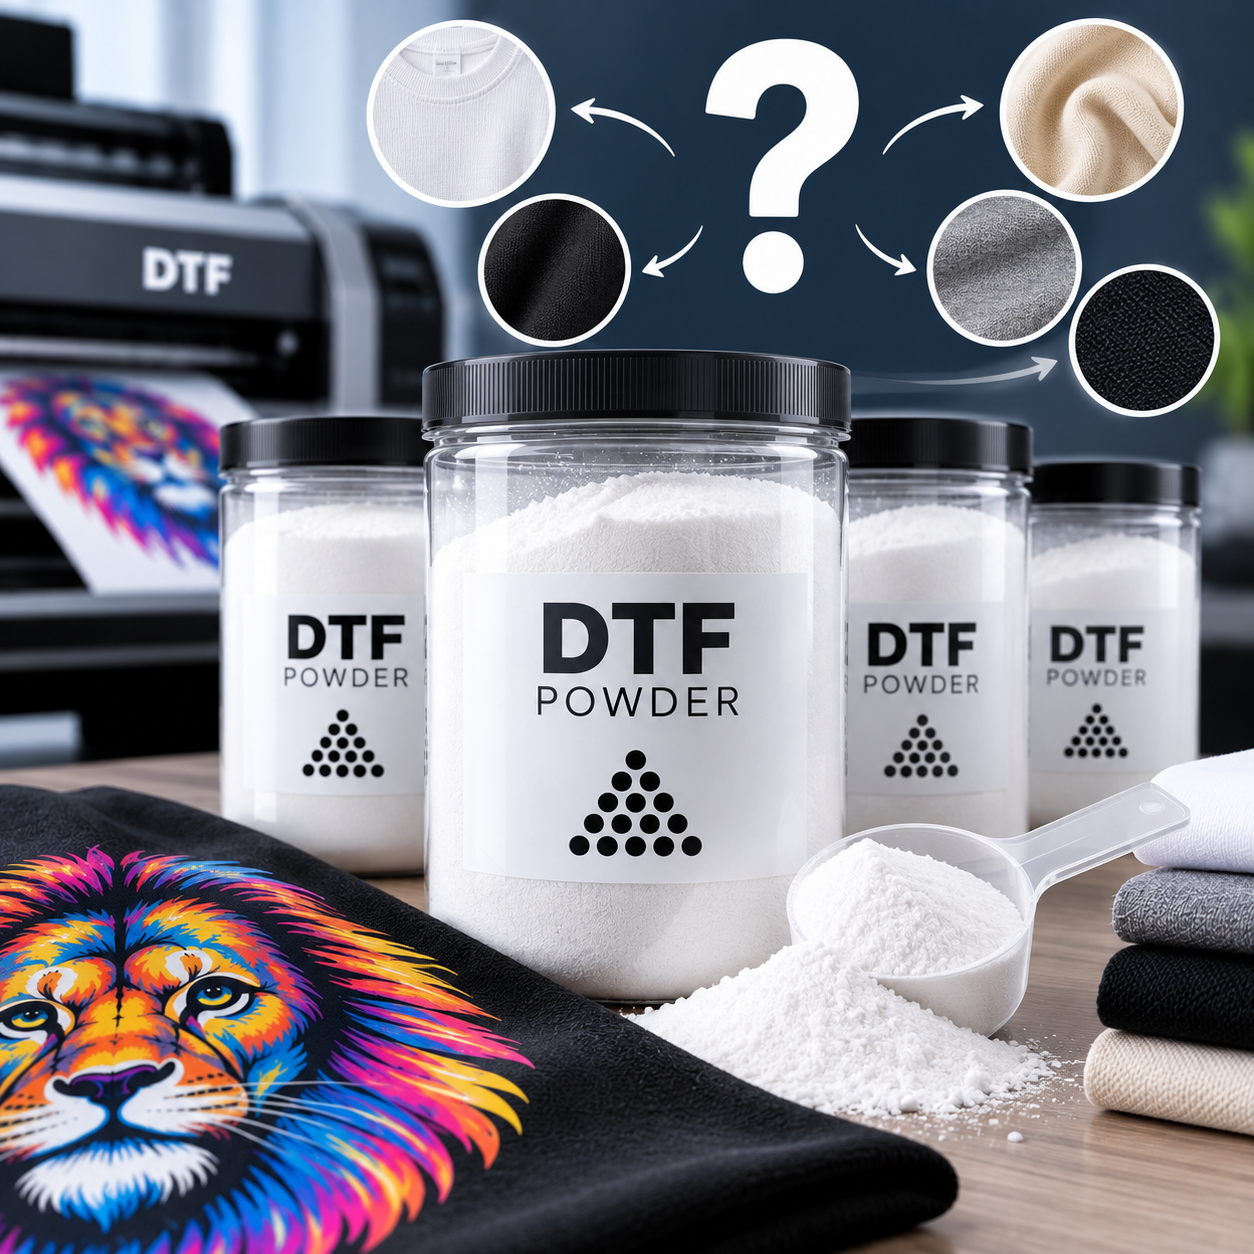
How do you choose the right DTF adhesive powder? Learn what TPU powder is, how it affects adhesion and durability,...

Correct application is one of the most important parts of the entire DTF process.
Even a perfectly printed and properly cured transfer can fail if the heat pressing process is incorrect.
Possible problems include:
The final result depends mainly on the correct combination of:
TEMPERATURE + TIME + PRESSURE + FABRIC TYPE + DTF SYSTEM + PEEL METHOD
There is therefore no single universal setting that works for every DTF transfer.
A DTF transfer consists of several layers.
In simplified form:
DTF FILM → COLOR PRINT → WHITE LAYER → TPU ADHESIVE → FABRIC
When heat and pressure are applied, the adhesive layer is activated and forms a bond with the textile.
For a reliable result, several conditions must work together:
If one of these conditions is not met, adhesion may be insufficient.
One of the most common questions is:
At what temperature should a DTF transfer be pressed?
The correct answer is:
According to the parameters of the specific DTF transfer system.
Different combinations of:
may require different application conditions.
For this reason, it is not advisable to copy a random temperature from the internet and use it automatically for every DTF transfer.
One of the important advantages of the professional B-Flex Hot Peel system is very fast application.
With the corresponding system, the transfer can be applied at:
130°C / 4 seconds / Hot Peel
This means:
A short application time can be a major advantage, especially in high-volume production.
IMPORTANT: The 130°C / 4-second parameters are specific to the B-Flex system. Do not automatically use them for DTF transfers from other manufacturers.
During application, fabric is exposed not only to pressure but also to high heat.
A lower application temperature may be beneficial, especially with heat-sensitive materials.
Depending on the textile, excessive temperature can cause:
A lower application temperature can therefore provide a technological advantage in certain applications.
CAUTION: Always test the compatibility of the specific transfer and fabric.
Time determines how long the transfer is exposed to:
If the pressing time is too short, the adhesive may not activate sufficiently.
On the other hand, pressing for longer does not automatically produce a better result and may unnecessarily expose the textile to more heat.
Therefore:
More time does not automatically mean better adhesion.
Always follow the recommended time for the specific DTF system.
Along with temperature and time, pressure is the third essential application parameter.
Its purpose is to provide sufficient and even contact between:
TRANSFER + ADHESIVE LAYER + FABRIC
If the pressure is too low, the transfer may:
Excessive pressure is not necessarily better either.
It may:
This term is commonly used in application instructions, but there is one problem:
It is not precisely defined.
Different heat presses may have:
So “medium pressure” on one heat press may not equal “medium pressure” on another.
The most important factors are:
Even a correctly adjusted heat press may produce poor results if the fabric does not lie flat.
Pay particular attention to:
If one of these areas raises part of the fabric, the transfer may not receive the same pressure across its entire surface.
This may cause only one part of the design to peel.
TIP: For difficult areas, a suitable pressing pad can help level the pressing surface.
The temperature shown on the display may not always match the actual temperature across the entire heated platen.
A heat press may have:
If transfers applied in the center of the platen behave differently from those pressed near the edge, checking temperature uniformity may be useful.
IMPORTANT: If you experience persistent unexplained problems, verify not only the set temperature but also the actual heat press temperature using an appropriate measuring method.
A short pre-press can be useful in some situations.
It may help:
However, pre-pressing should not automatically be extended.
TIP: If you use a pre-press, keep it short and adapt it to the specific textile and recommended workflow.
After opening the heat press, another important question comes next:
When should the carrier film be removed?
This depends on the type of DTF film.
The carrier film is removed while hot according to the recommended procedure.
The main advantage can be a very fast production cycle.
The transfer is allowed to cool before the carrier film is removed.
This increases the overall production time, but it is part of the workflow of that specific transfer system.
CAUTION: Do not confuse Hot Peel and Cold Peel procedures.
For a detailed comparison, see:
Hot Peel vs. Cold Peel DTF Film – Differences & Which to Choose
Remove the carrier film:
If part of the design begins lifting together with the carrier film, do not simply continue pulling with more force.
Instead, check:
Some DTF workflows include a short second press after the carrier film has been removed.
Its purpose may include:
However, whether a second press is required and which parameters should be used depends on the specific DTF system.
IMPORTANT: Do not add a second press automatically just because you have seen it used in another workflow. Follow the recommendation for the specific transfer system.
Cotton is one of the most common textiles used for DTF application.
Before pressing, check:
Then apply the:
recommended temperature + time + pressure + correct peel procedure.
Polyester may require more caution.
With some polyester fabrics, heat can cause:
For this reason, it is advisable to perform a test before starting a larger production run.
TIP: The ability to apply a transfer at a lower temperature can be a significant advantage for some heat-sensitive textiles, provided that the transfer system is designed for such conditions.
Blended textiles combine the properties of multiple fibers.
For example:
cotton + polyester
It is therefore necessary to consider not only the DTF transfer itself but also the heat resistance of the specific fabric.
Before high-volume production, we recommend testing the actual material.
Different systems may require different parameters.
The transfer may not bond evenly to the fabric.
More pressure does not automatically mean a better result.
Both too short and unnecessarily long pressing times can cause problems.
The carrier film is removed at the wrong time.
Seams, zippers or pockets may change the actual pressure.
A small test can prevent an entire batch of garments from being wasted.
| Parameter | What It Affects |
|---|---|
| Temperature | Adhesive activation and thermal stress on the fabric |
| Time | Duration of heat and pressure exposure |
| Pressure | Contact between the transfer and fabric |
| Fabric type | Heat resistance and adhesion |
| Hot/Cold Peel | Timing of carrier film removal |
| Press flatness | Application uniformity |
| DTF system | Specific recommended settings |
A general workflow may look like this:
1. Check the fabric
It must be suitable for the transfer and positioned correctly in the heat press.
2. Set the heat press
Use the parameters recommended for the specific DTF system.
3. Pre-press briefly if necessary
Flatten the surface and remove possible moisture.
4. Position the DTF transfer
Check its exact placement.
5. Press the transfer
Follow the recommended temperature, time and pressure.
6. Remove the carrier film
According to the Hot Peel or Cold Peel procedure.
7. If required by the system, perform a second press
8. Check the result
The transfer should be evenly applied and properly bonded to the fabric.
If you work with several types of textiles, create your own production reference table.
For example:
| Fabric | Transfer | Temperature | Time | Pressure | Peel | Result |
|---|---|---|---|---|---|---|
| Cotton T-shirt | DTF System A | According to specification | According to specification | Verified | Hot/Cold | OK |
| Polyester | DTF System A | According to test | According to specification | Verified | Hot/Cold | OK |
| Hoodie | DTF System A | According to specification | According to specification | Verified | Hot/Cold | OK |
Over time, this creates your own database of verified production settings.
A properly applied transfer should:
The result should ideally be evaluated not only immediately after pressing but also through a wash test before starting a larger production run.
If you are using:
perform a test before production.
Ideally verify:
APPLICATION → APPEARANCE → ADHESION → WASHING
A few minutes of testing can prevent dozens or hundreds of garments from being damaged.
It depends on the specific DTF system. There is no single universal temperature for all transfers.
Use the time recommended for the specific system. Longer pressing does not automatically mean better results.
The pressure must provide even contact between the transfer and the textile. The exact setting depends on the heat press and transfer system.
The carrier film is removed while hot after pressing, according to the recommended procedure.
The transfer is allowed to cool before the carrier film is removed.
Yes, if the specific transfer system is designed for that temperature. For example, the B-Flex Hot Peel system can be applied at 130°C for 4 seconds.
It depends on the specific system. If the manufacturer recommends a second press, follow the specified parameters.
Possible causes include insufficient or uneven pressure, incorrect temperature or time, uneven fabric, or another problem in the application process.
A short pre-press can help flatten the textile and remove some surface moisture. Adapt the procedure to the specific fabric and system.
Yes. Especially when using a new combination of transfer, textile or heat press settings.
For a more accurate recommendation, it is useful to know:
With this information, it is much easier to determine which part of the process should be adjusted.
DTF Transfers
B-Flex Hot Peel DTF Film
How to Choose the Right DTF Film? Complete Guide
Hot Peel vs. Cold Peel DTF Film – Differences & Which to Choose
DTF Transfer Not Sticking? Common Causes and Solutions
Most Common DTF Printing Problems – Causes and Solutions
Which Fabrics Can You Apply DTF Transfers To? Cotton, Polyester and More
Leave a comment